How and when to plant spring bulbs
Spring bulbs are ideal for anyone who rates themselves as 'keen-but-clueless'. They are one of the easiest plants to grow and bring plenty of impact, whether grown in pots or the border. Provided you plant them at the right depth and time of year, they'll reward you with a reliable display of blooms.
Follow these simple planting tips if you're thinking about potted bulbs for the patio or planting bulbs in your garden.
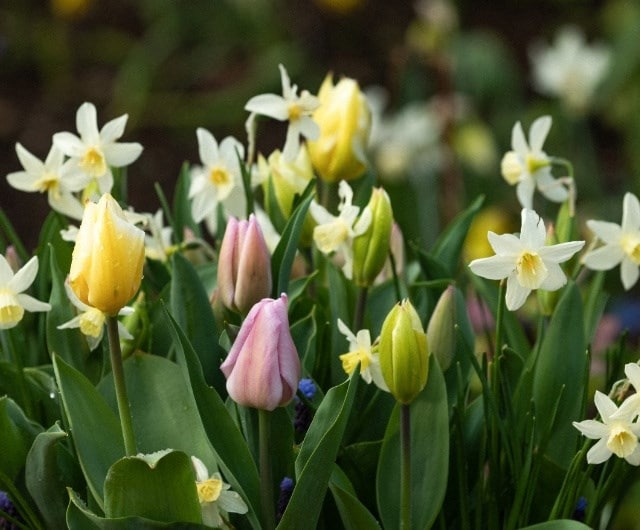
When to plant spring bulbs
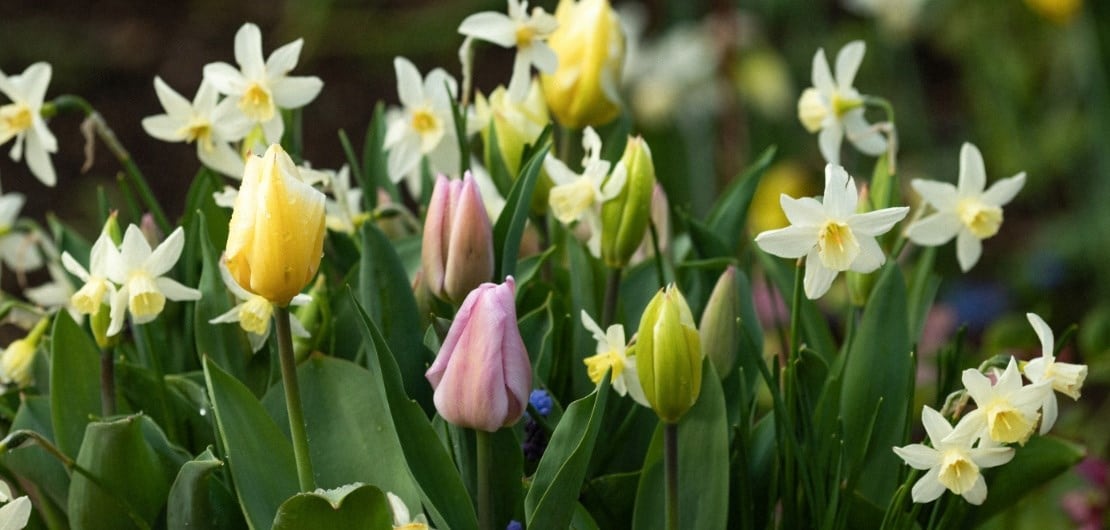
The planting time for bulbs varies broadly according to their flowering time. As a rule of thumb, you should plant spring-flowering bulbs from early autumn. This gives them plenty of time to produce new roots before the ground freezes with the onset of winter. As a general rule, aim to plant bulbs 6 to 8 weeks before the first hard frost in your area.
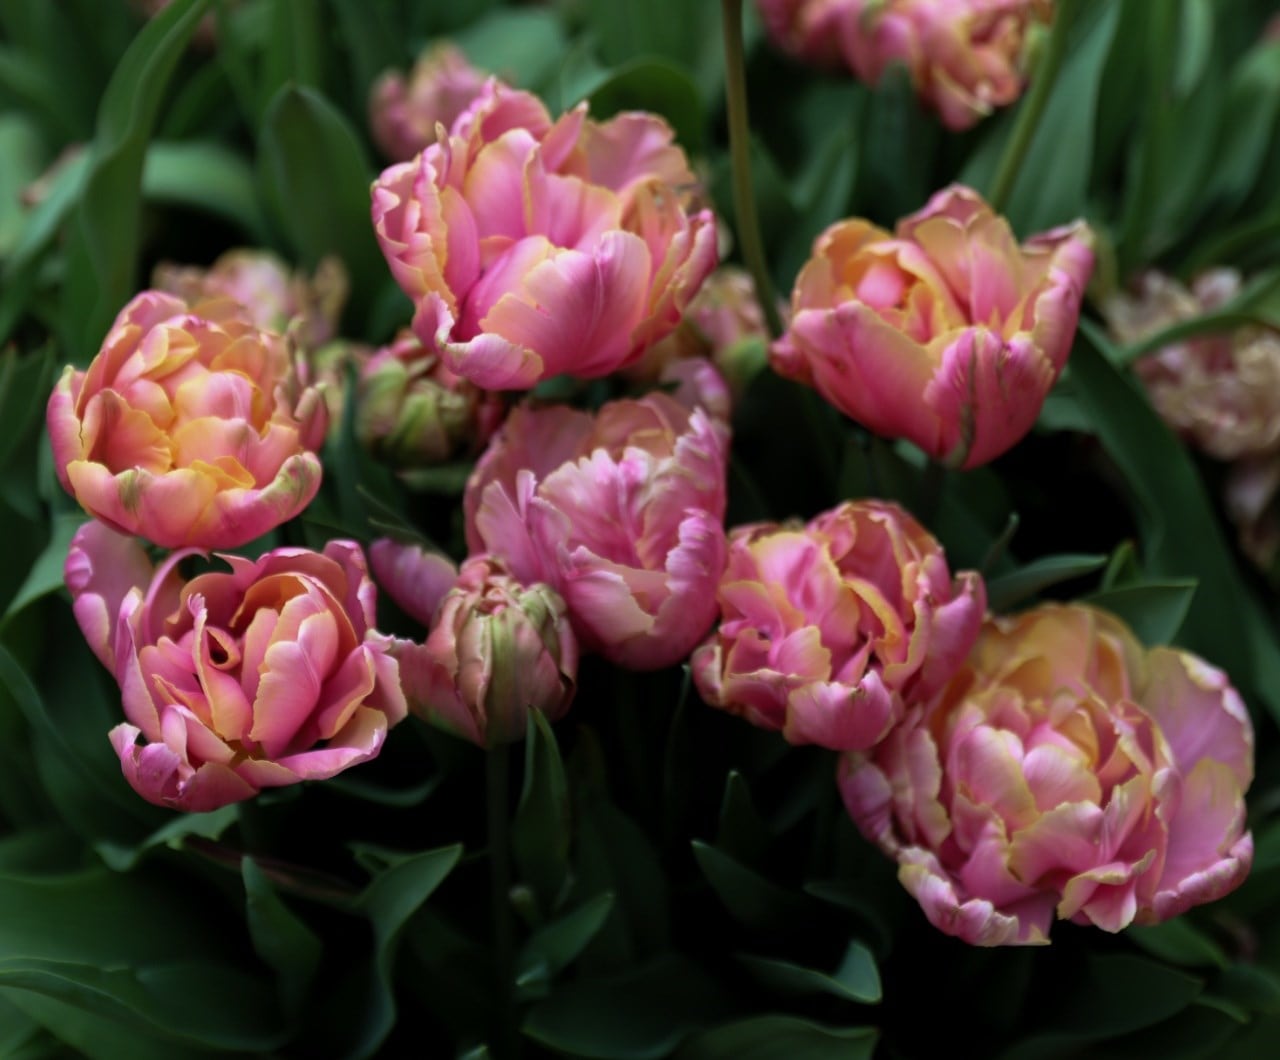
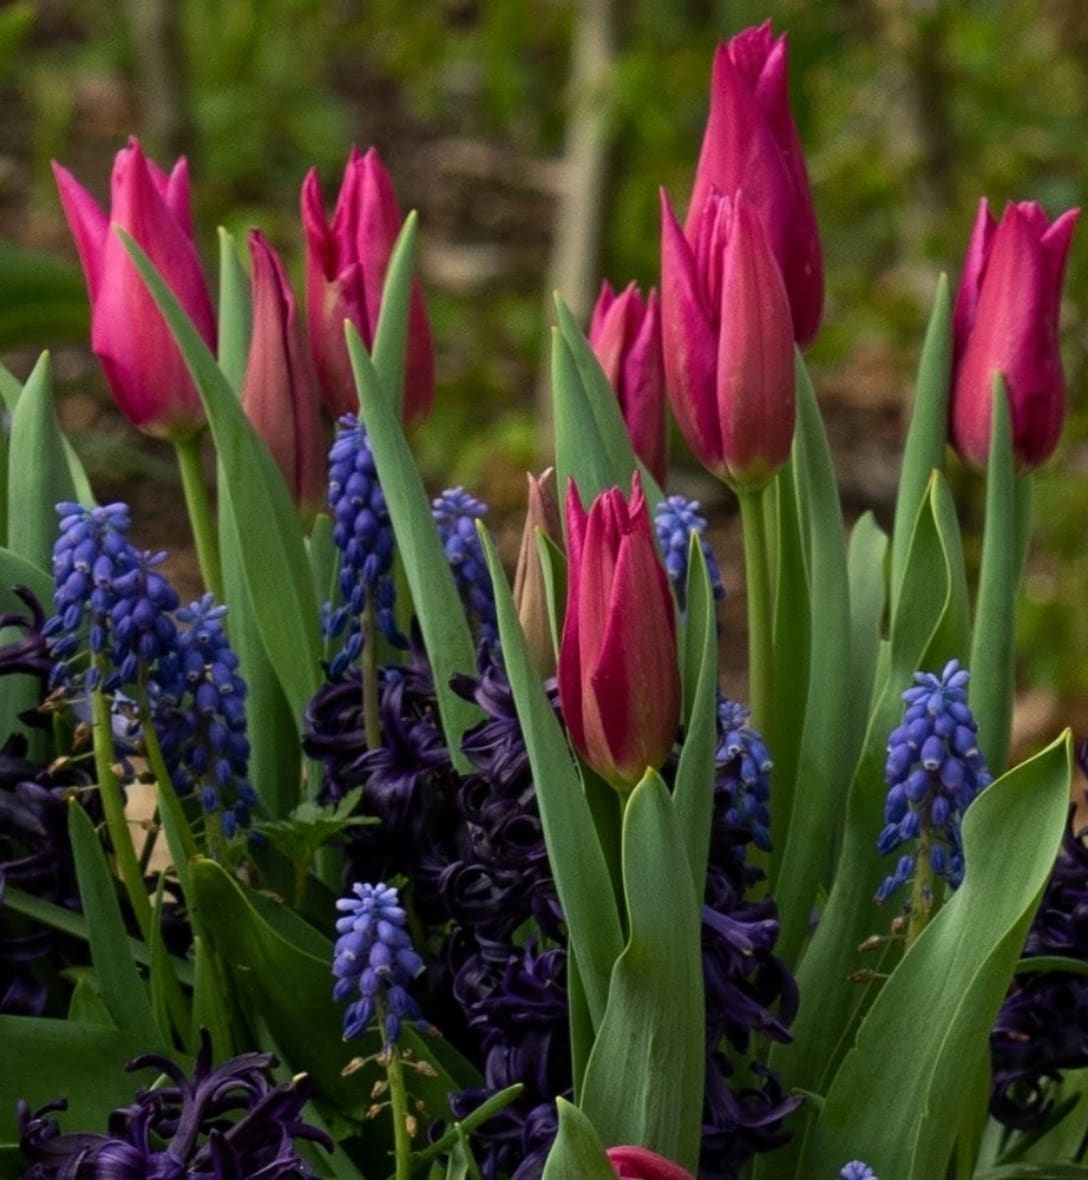
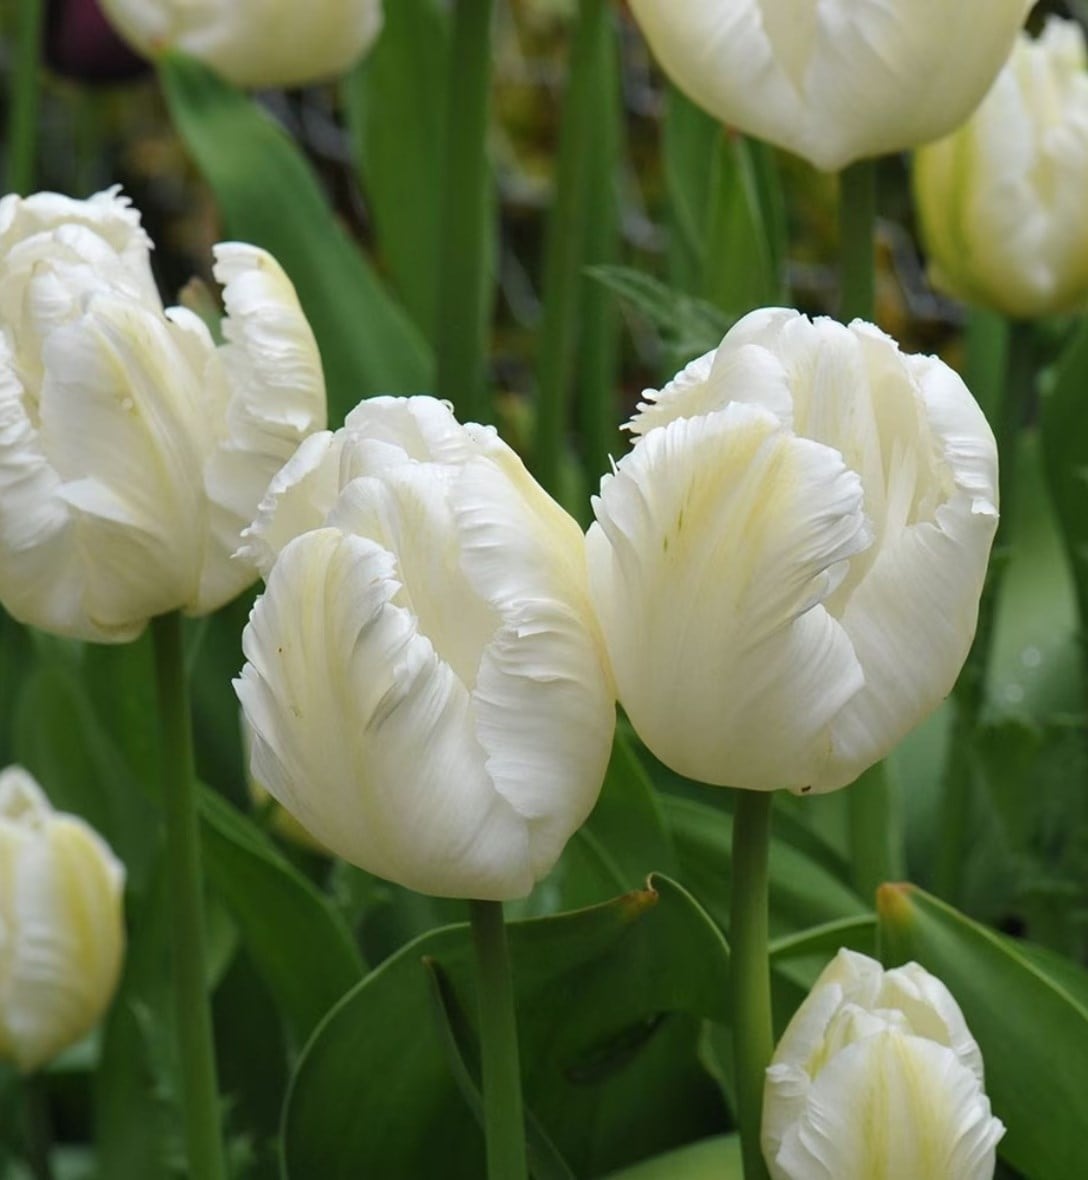
Tulips are the main exception to this rule. You can plant tulip bulbs in late autumn, or even early winter, without adversely affecting the following year's flowering. Planting tulips as late as November can even be preferable. Growing bulbs in colder weather can help them avoid the fungal disease 'tulip fire' which thrives in warm, damp conditions.
Summer bulbs like dahlia and gladioli, and autumn-flowering bulbs like colchicums, are best planted from late spring onwards.
How to plant spring bulbs - step by step
If you've never planted bulbs before, it can feel a little daunting, however, it is generally very straightforward. Follow these simple steps to plant spring bulbs for top displays that will last for months
1. Choose the right spot
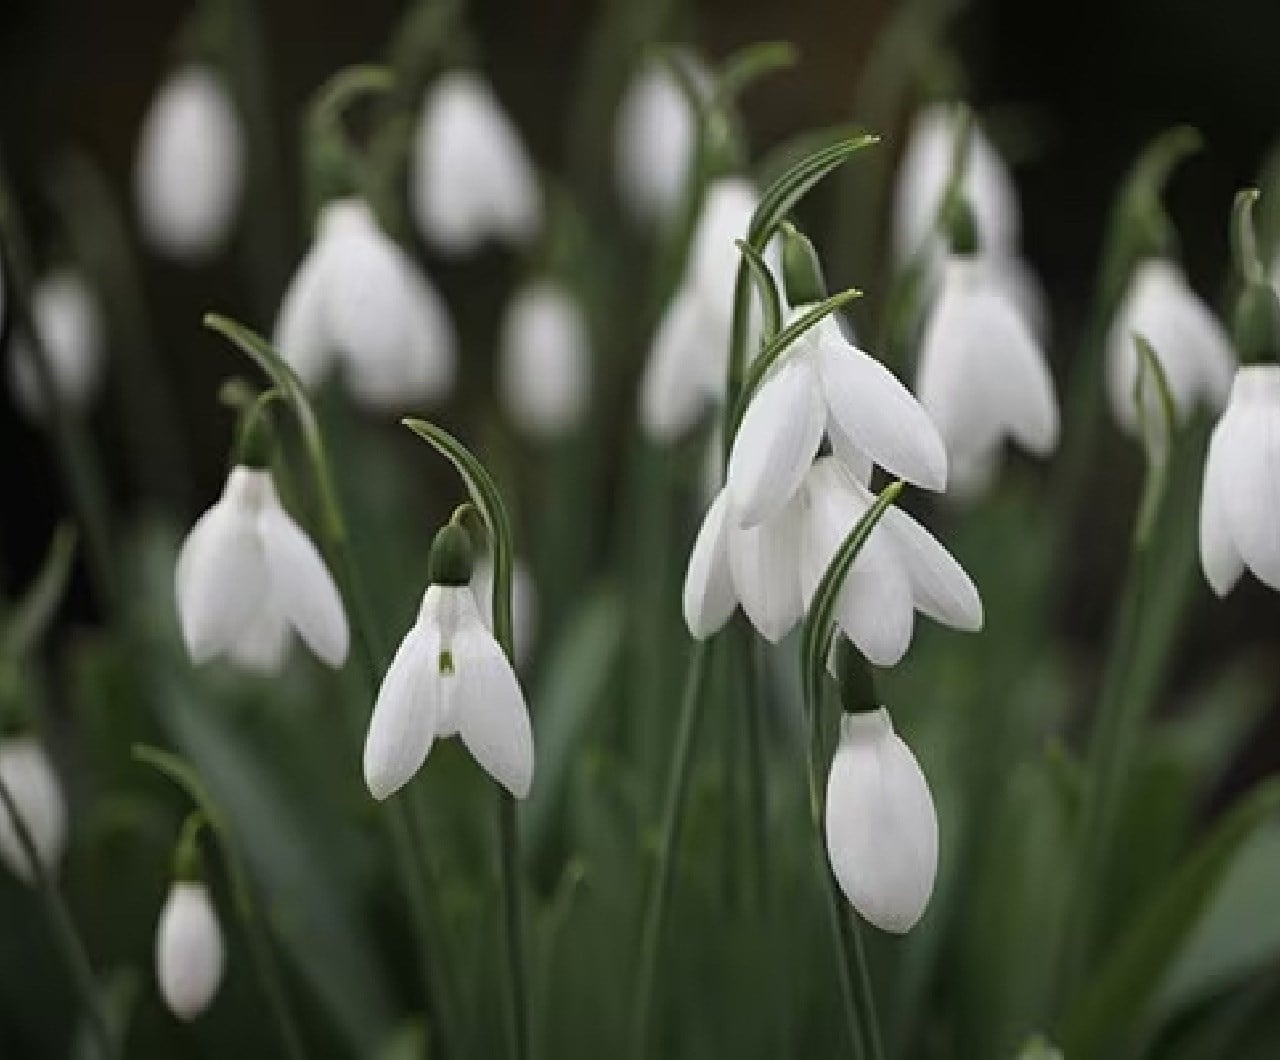
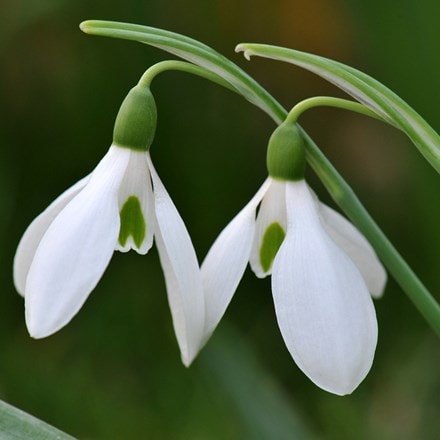
Pick an area that suits the growing conditions of your bulb. Most hardy bulbs, like daffodils and tulips, prefer a sunny spot with good drainage as they originate from dry summer climates. Bulbs from woodland habitats like snowdrops will prefer a cool, partially shaded spot with moisture-retentive, humus-rich soil.
2. Prepare the soil
Before planting in the ground, first cultivate the soil to give your bulbs the best possible start. Break it up and ensure the soil is loose, fertile, and free from weeds. Add organic matter, such as well-rotted compost and sharp sand or grit, to improve drainage and add essential nutrients.
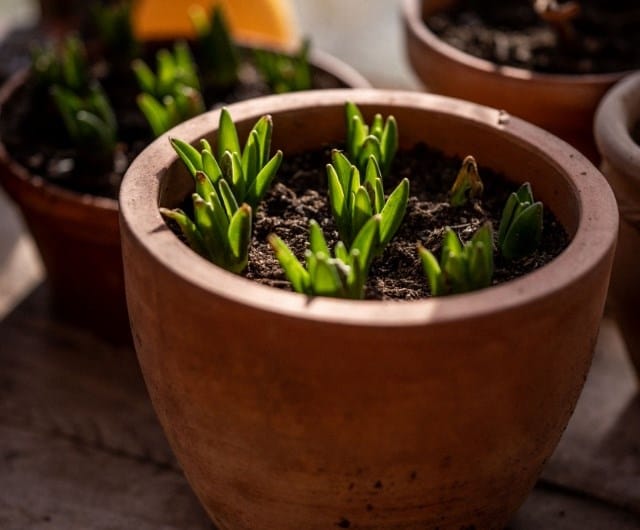
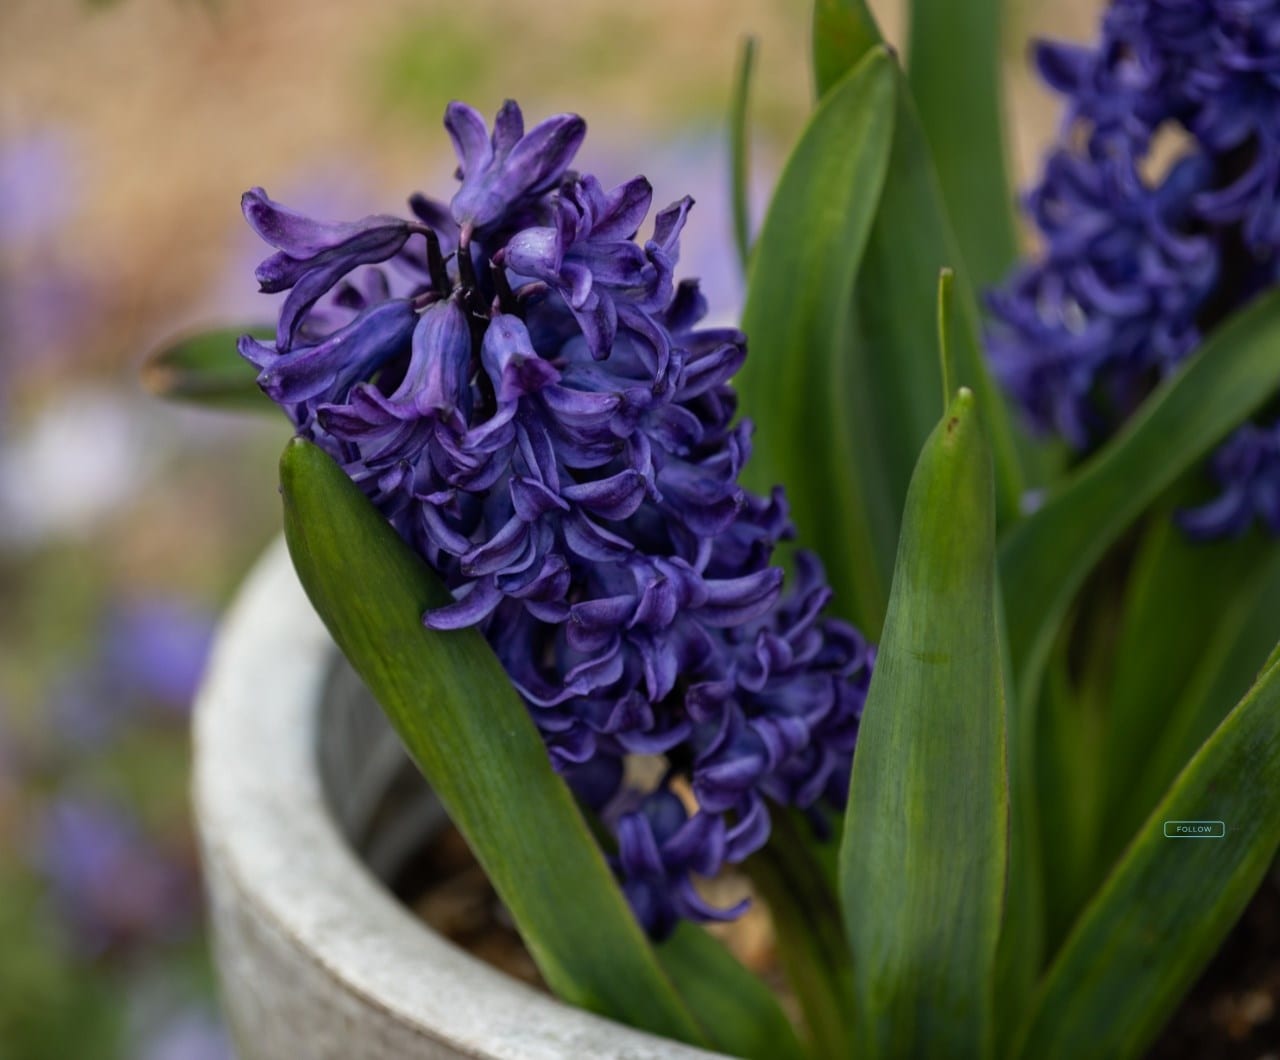
If you are planting your bulbs in pots or containers, use a well-draining multi-purpose compost.
3. Dig the planting holes
If you are only planting a few bulbs, use a strong trowel or bulb planter. To save time, you can use a soil auger fitted into an electric drill to speed up the process. Ideal depth and spacing varies with the type of bulb, so consult our guide below.
For most bulbs you'll want to dig a hole two to three times the bulb's height. This allows new roots plenty of room to develop.
For larger swathes of bulbs, it's better to use a spade to dig out a planting block to the correct depth. Position the bulbs and then replace the excavated soil. On heavy, poorly drained soils, sit the bulbs on a layer of sharp grit to aid drainage and help prevent rotting.
To achieve a natural-looking swathe of bulbs, you'll need to plant them in irregular blocks at variable planting distances. If you find this difficult, try scattering the bulbs and planting them exactly where they land.
4. Planting the bulbs
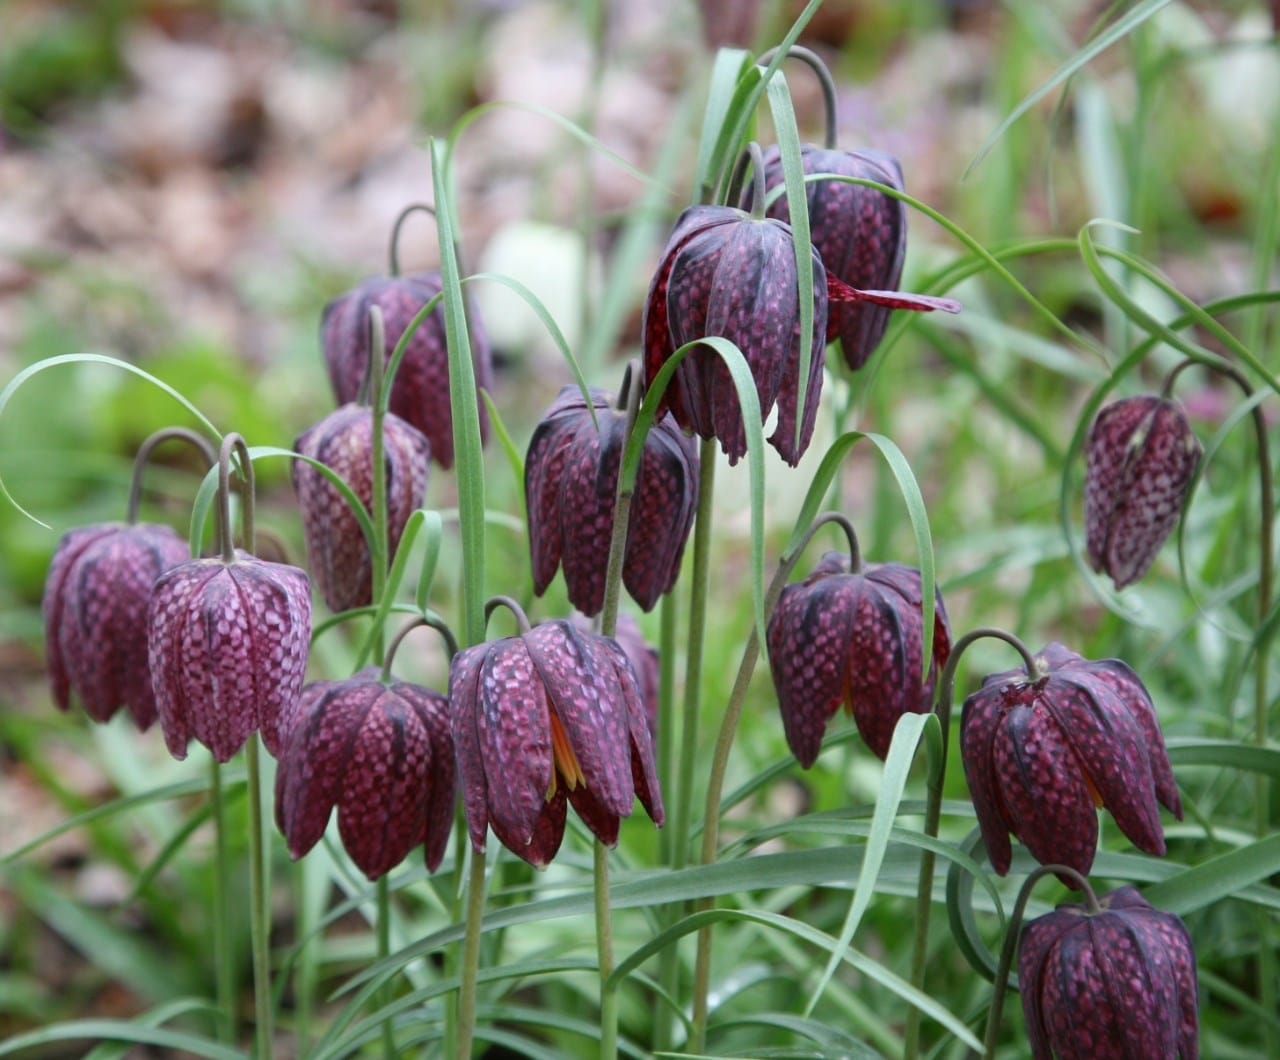
Plant bulbs with the pointed 'nose' (where the shoot emerges) at the top and the flat 'basal plate' at the bottom. The only exception to this rule is with crown imperials (Fritillaria imperialis). These bulbs are hollow, so you should always plant them on their side to prevent rotting.
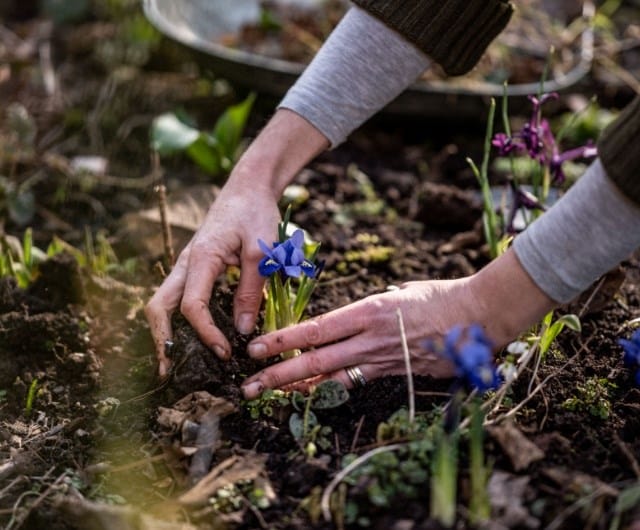
When you've placed all the bulbs into the holes, gently backfill the hole, firming the soil around the bulb. You may want to 'mark the spot' of your planted bulbs with marker stakes so you don't unearth them by mistake.
5. Watering and mulching
After planting, give the bulbs a thorough watering to promote root growth. A layer of mulch will keep weeds at bay, hold onto moisture and insulate bulbs in the colder months. Composted bark or leaf mould are both good options.
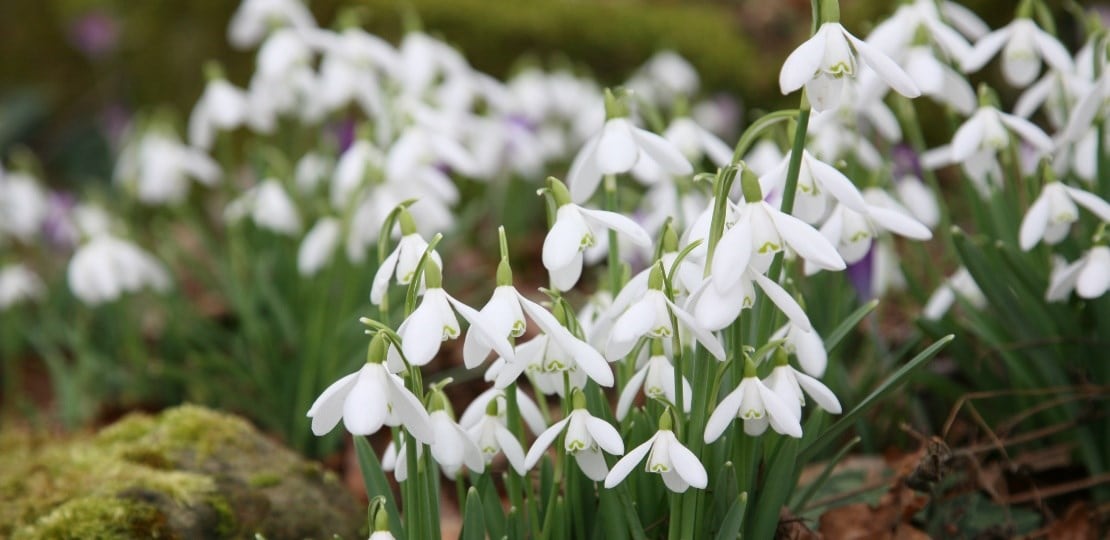
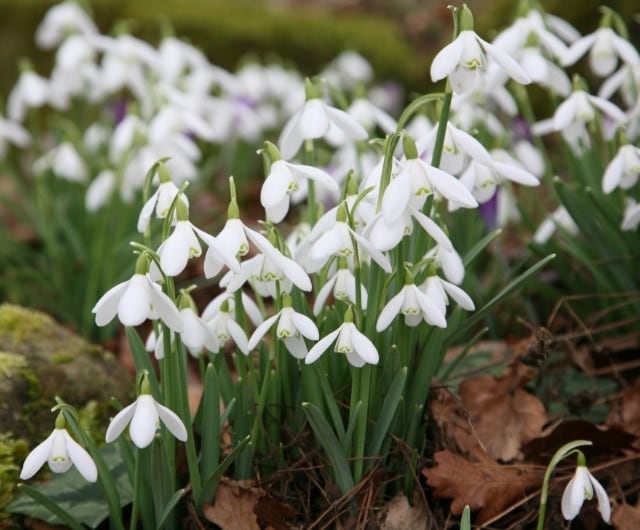
Naturalising bulbs in the lawn
When planting in lawns, carefully peel back the turf, then dig out the soil and plant the bulbs. Once you have replaced the soil, tread it down lightly then replace the turf. You can fill any gaps with sieved garden soil.
Under trees, it's better to plant bulbs singly. Large excavations can damage trees' roots and encourage suckering.
If you have had problems with rodents digging up and eating your bulbs in the past, you'll need to protect them. Try covering the whole planting area with a layer of chicken wire buried just below the surface.


